Introduction Automatically send transactional emails for payment confirmations, subscription updates, and important notifications using SendGrid. Trigger personalized emails based on payment events with dynamic content and professional templates.
This integration requires a SendGrid API Key with Mail Send permissions.
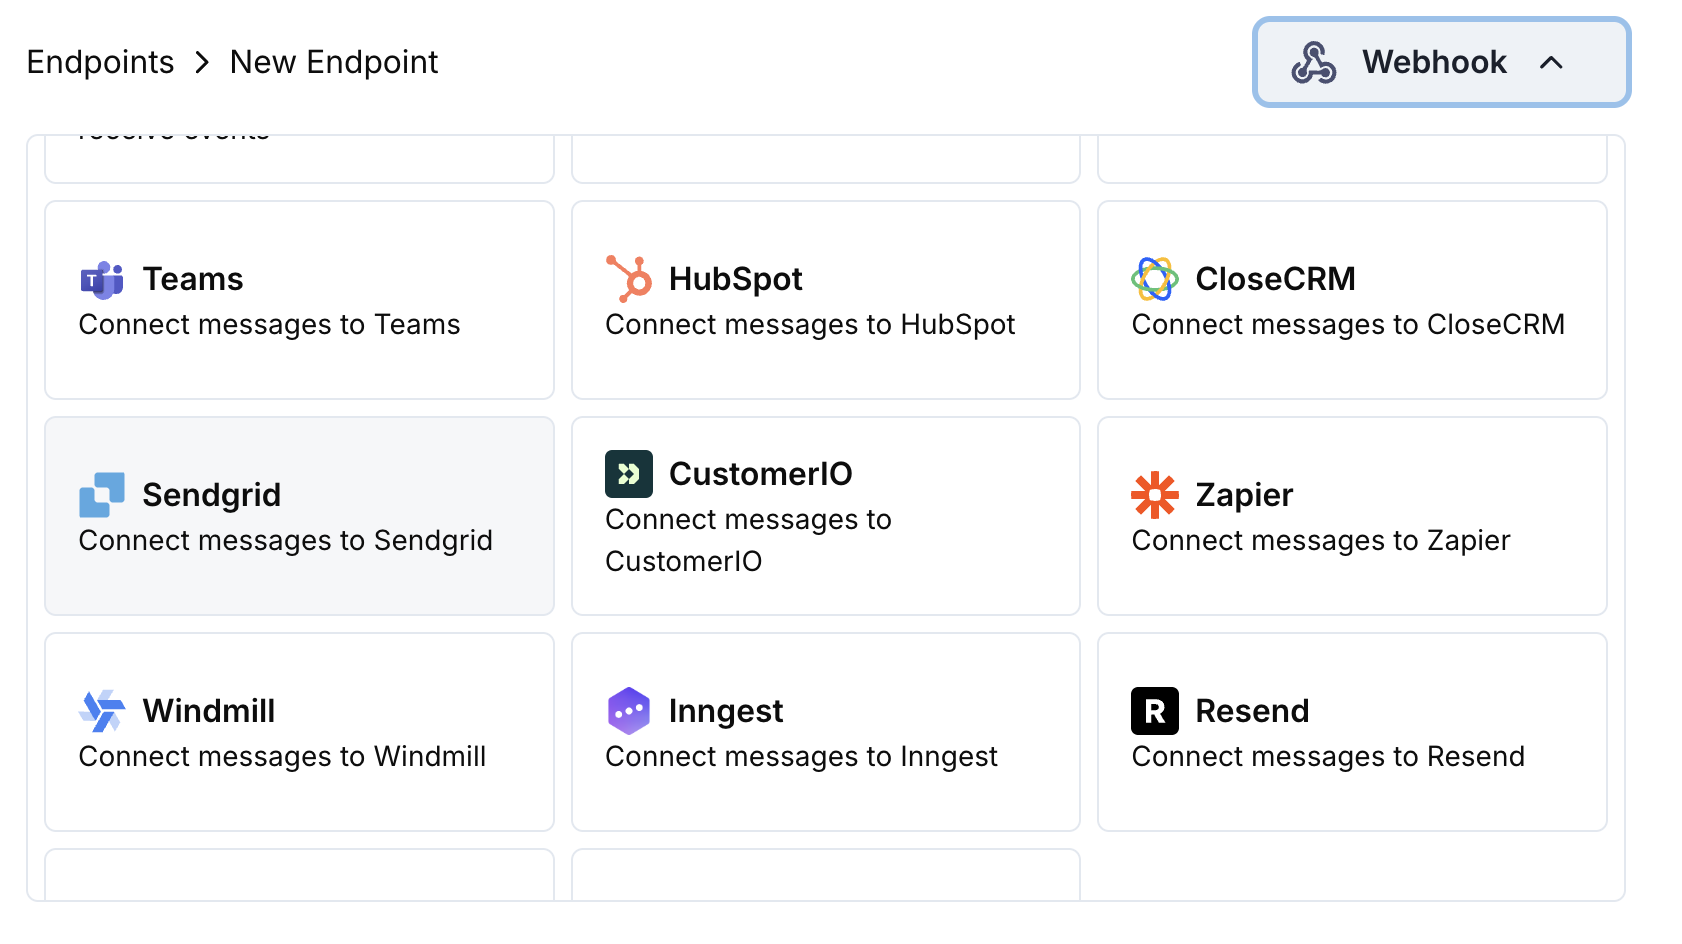
Getting Started
Open the Webhook Section
In your Dodo Payments dashboard, navigate to Webhooks → + Add Endpoint and expand the integrations dropdown.
Select SendGrid
Choose the SendGrid integration card.
Enter API Key
Provide your SendGrid API Key in the configuration.
Configure Transformation
Edit the transformation code to format emails for SendGrid’s Mail Send API.
Test & Create
Test with sample payloads and click Create to activate the email sending.
Done!
🎉 Payment events will now automatically trigger transactional emails via SendGrid.
Payment Confirmation Email function handler ( webhook ) { if ( webhook . eventType === "payment.succeeded" ) { const p = webhook . payload . data ; webhook . url = "https://api.sendgrid.com/v3/mail/send" ; webhook . payload = { personalizations: [ { to: [{ email: p . customer . email }], dynamic_template_data: { customer_name: p . customer . name , payment_amount: ( p . total_amount / 100 ). toFixed ( 2 ), payment_id: p . payment_id , payment_date: new Date ( webhook . payload . timestamp ). toLocaleDateString (), currency: p . currency || "USD" } } ], from: { email: "payments@yourdomain.com" , name: "Your Company" }, template_id: "d-xxxxxxxxxxxxxxxxxxxxxxxxxxxxxxxx" }; } return webhook ; }
Subscription Welcome Email function handler ( webhook ) { if ( webhook . eventType === "subscription.active" ) { const s = webhook . payload . data ; webhook . url = "https://api.sendgrid.com/v3/mail/send" ; webhook . payload = { personalizations: [ { to: [{ email: s . customer . email }], dynamic_template_data: { customer_name: s . customer . name , subscription_id: s . subscription_id , product_name: s . product_id , amount: ( s . recurring_pre_tax_amount / 100 ). toFixed ( 2 ), frequency: s . payment_frequency_interval , next_billing: new Date ( s . next_billing_date ). toLocaleDateString () } } ], from: { email: "welcome@yourdomain.com" , name: "Your Company" }, template_id: "d-xxxxxxxxxxxxxxxxxxxxxxxxxxxxxxxx" }; } return webhook ; }
Payment Failure Notification function handler ( webhook ) { if ( webhook . eventType === "payment.failed" ) { const p = webhook . payload . data ; webhook . url = "https://api.sendgrid.com/v3/mail/send" ; webhook . payload = { personalizations: [ { to: [{ email: p . customer . email }], dynamic_template_data: { customer_name: p . customer . name , payment_amount: ( p . total_amount / 100 ). toFixed ( 2 ), error_message: p . error_message || "Payment processing failed" , payment_id: p . payment_id , retry_link: `https://yourdomain.com/retry-payment/ ${ p . payment_id } ` } } ], from: { email: "support@yourdomain.com" , name: "Your Company Support" }, template_id: "d-xxxxxxxxxxxxxxxxxxxxxxxxxxxxxxxx" }; } return webhook ; }
Tips
Use SendGrid dynamic templates for personalized content
Include relevant payment data in template variables
Set proper from addresses and sender names
Use template IDs for consistent email formatting
Include unsubscribe links for compliance
Troubleshooting
Verify API Key has Mail Send permissions
Check that template IDs are valid and active
Ensure recipient email addresses are valid
Review SendGrid sending limits and quotas